Buying equipment before you know what your off-grid setup needs is a quick way to waste money. Another person’s rig might have solar panels, a large battery, extra water tanks, and carefully built storage.
The photo won’t tell you how much electricity they use or how often they refill water. It also doesn’t show whether they can manage three days without campground services.
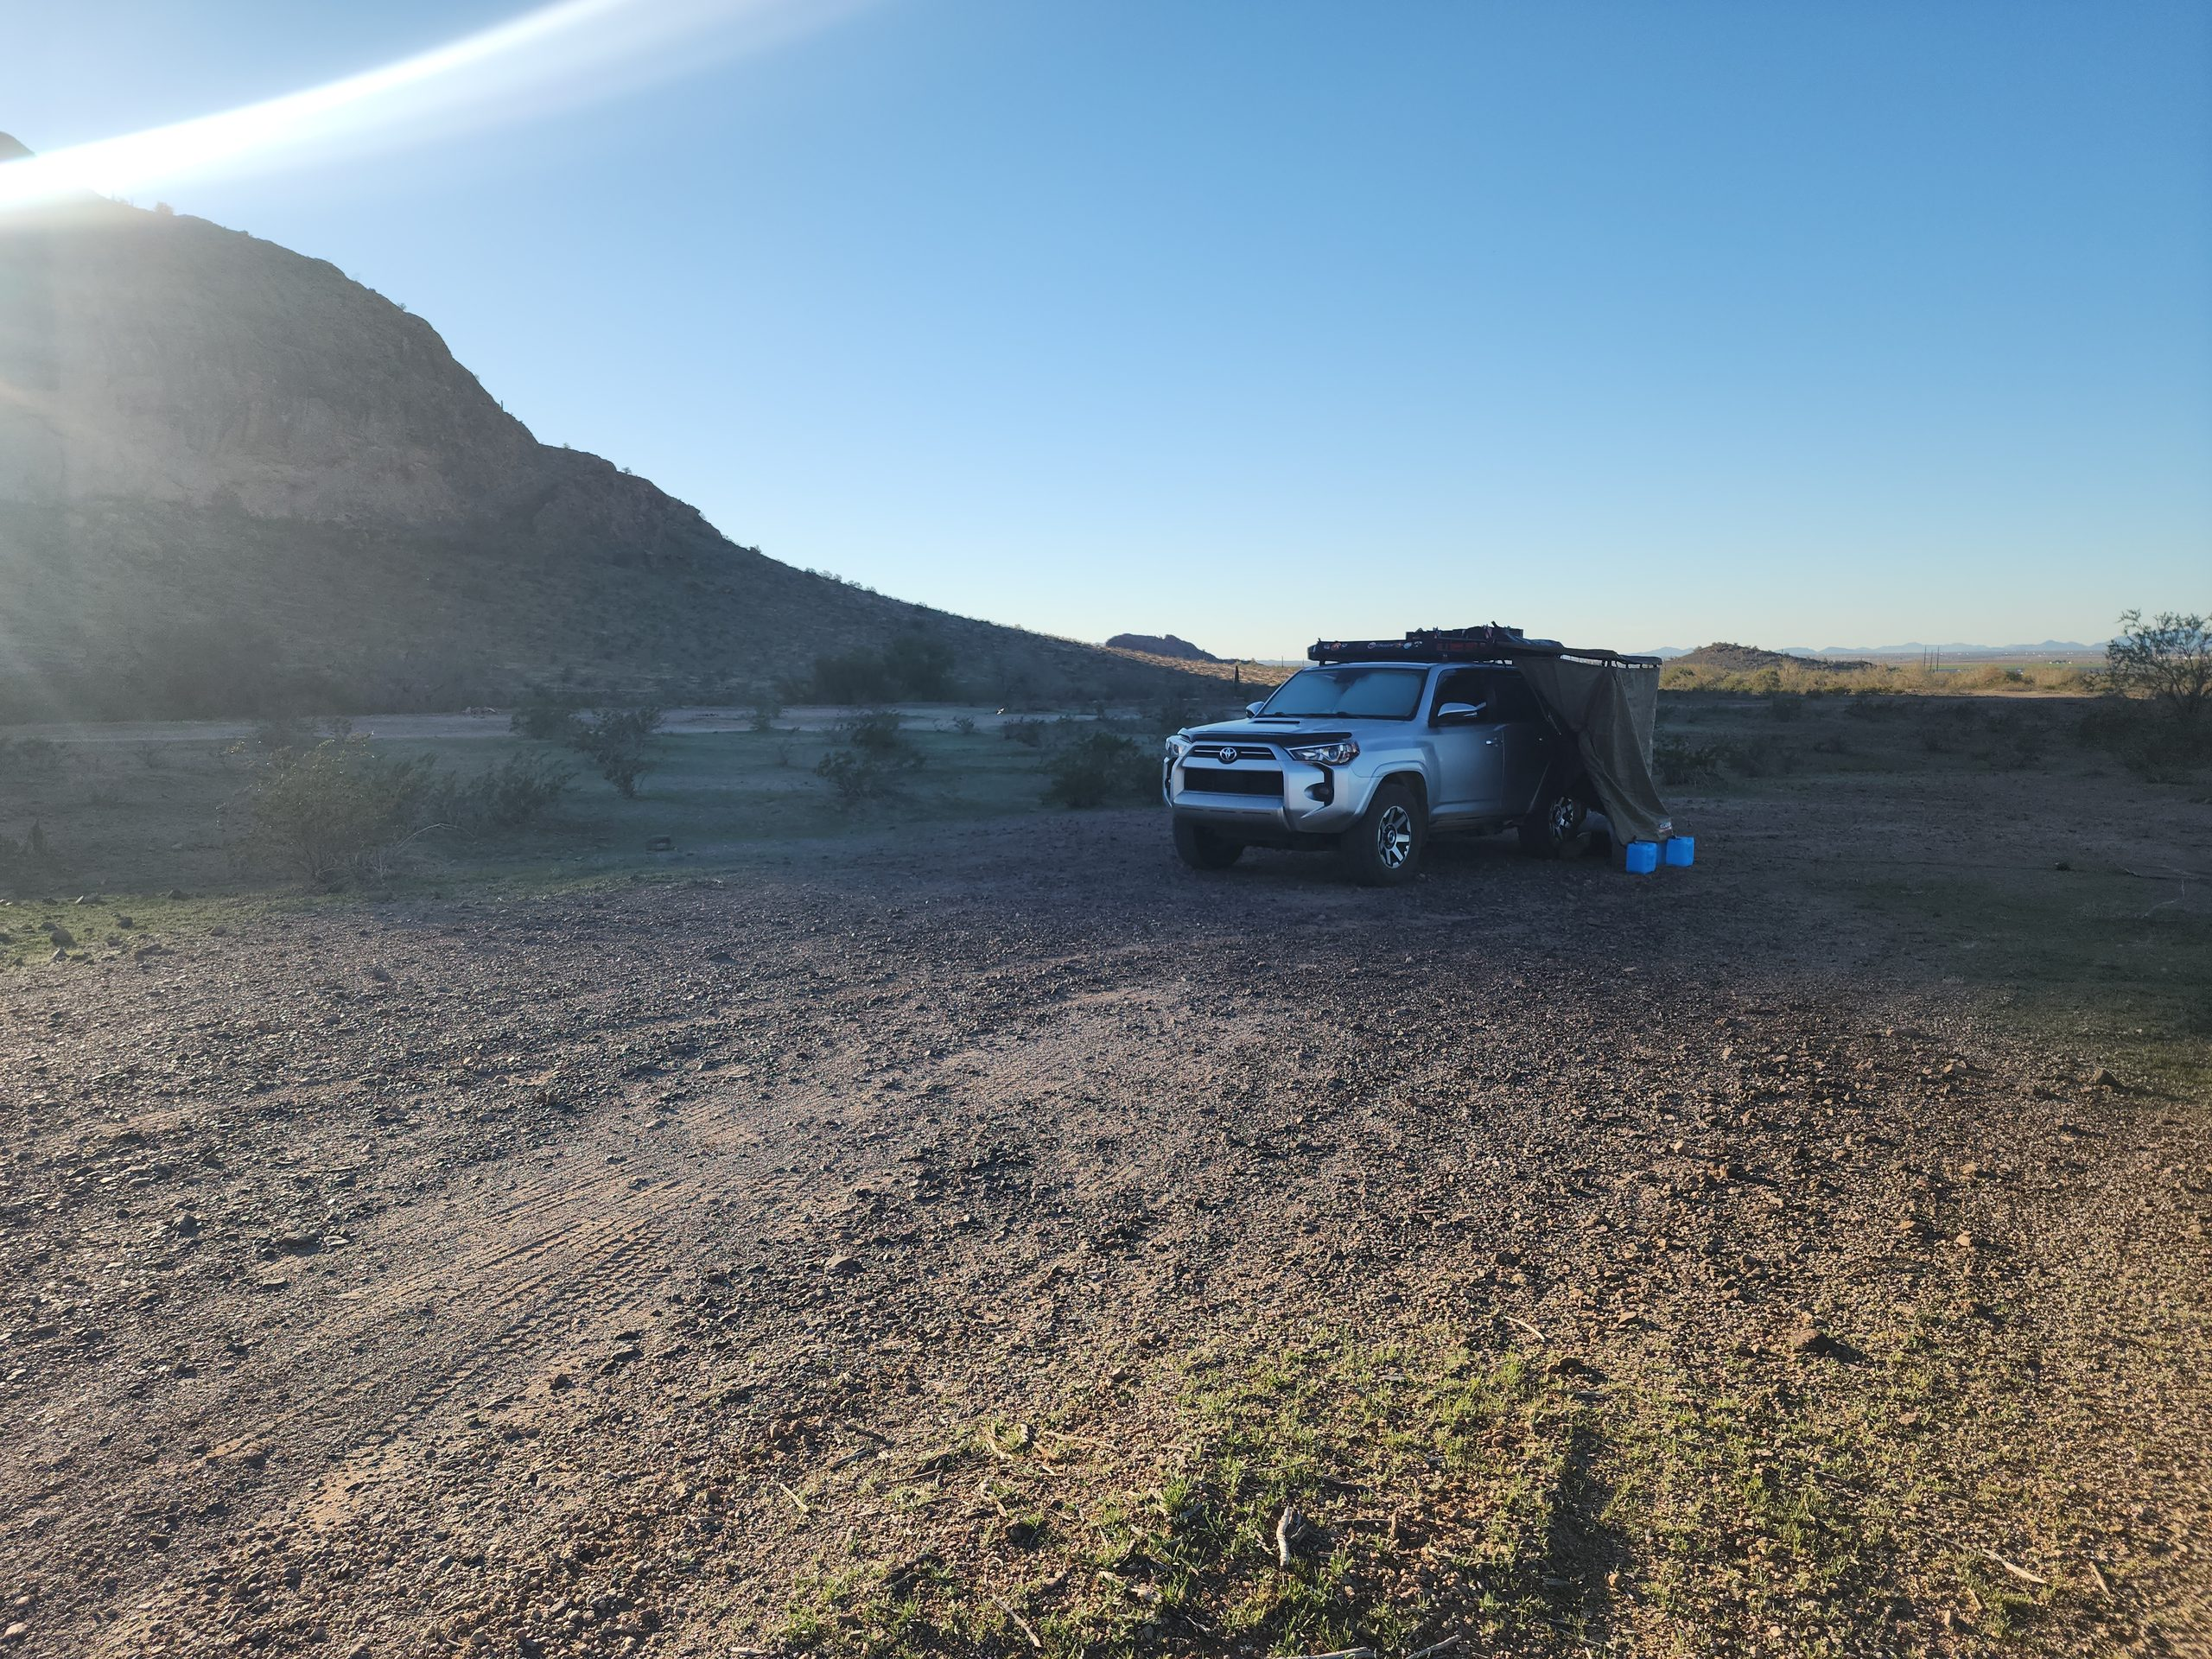
I have spent nearly a decade car camping, much of it living from my Toyota 4Runner. That experience changed how I approach off-grid readiness. I look at the demands of daily life and what might force me to leave camp. Then I build systems that give me more control over those decisions.
You do not have to own a particular camper, spend thousands on modifications, or duplicate someone else’s setup to begin. This applies to cars, SUVs, vans, truck campers, and RVs. The goal is to understand what your vehicle and supplies can support before you leave services behind.
What does off-grid ready really mean?
An off-grid-ready setup supports the basics without depending on campground hookups, running water, bathrooms, or reliable cell reception. It doesn’t need to support an unlimited stay or every convenience found at home.
For one camper, off-grid readiness might mean two comfortable nights with a cooler, water containers, and a place to sleep. For someone traveling full-time, it may mean being able to work, store food safely, manage waste, and stay several days before resupplying. Neither setup is automatically better. They serve different needs.
Equipment should solve a real problem. It shouldn’t add unnecessary weight, expense, or maintenance.
1. Decide how long you need your setup to work
Before purchasing anything, choose a realistic starting point. Are you preparing for a weekend, a four-day stretch, or a week with no hookups? How many people and pets are coming? Will you be working remotely, cooking every meal, or mostly sleeping at camp between day trips?
Make a simple inventory of what your trip requires. Include electricity, drinking and cooking water, food, bathroom supplies, cooking fuel, and vehicle fuel. Add refrigeration if your meals depend on it. Then identify the first resource likely to run out.
Your limiting resource controls your stay. A battery that lasts ten days does not extend a trip if you only have enough water for three. The right upgrade is often the one that addresses that limit, not the most impressive piece of equipment available.
2. Build your power system around actual use

Power equipment attracts attention because it is visible and easy to compare. But a large battery or solar array does not mean much without knowing what it must run each day.
Start by listing your devices. Include refrigerator power, lights, fans, phones, laptops, communication equipment, and water pumps. Add anything else that draws electricity. Estimate each device’s watts multiplied by hours of daily use to get watt-hours (Wh) per day. For equipment that cycles on and off, use measured daily consumption if possible rather than assuming it runs constantly.
Estimate your battery runtime
Suppose you use 400 Wh per day and have 1,200 Wh of usable stored energy. That’s roughly three days before allowing for losses, changes in use, or recharging. Solar can extend that time, but cloudy weather, shade, short winter days, and panel positioning change the amount recovered.
In my own setup, I manage camp electricity separately from the 4Runner’s starting battery. I do not want the power used for daily living to compromise the vehicle I depend on to leave camp. I have avoided running out of camp electricity for nearly ten years by planning demand and adjusting usage. I don’t assume the sun will always cooperate.
You can learn more about that approach in my experience with solar power for car camping. Measure demand first. Then decide whether you need a bigger battery, more solar, or a change in routine.
The 4Runner Nomad Facebook Academy includes a Power Runtime & Solar Recovery Calculator and other planning resources. Members can use the calculator to check their numbers instead of guessing.
3. Treat water as a daily operating requirement
Water is one of the quickest ways to learn whether a campsite is truly workable. You need it not only for drinking, but also for food preparation, cleaning, and the needs of anyone traveling with you. Heat, activity, pets, and the availability of safe refill points can change the amount you need.
My 4Runner system relies on portable water containers rather than a built-in RV tank. Portable containers fit the space I have. But I still track consumption and plan my next refill before supplies run low.
Start by measuring what you actually use over a normal day. Then add a reserve appropriate for the weather, route, and distance from reliable water. Don’t count on an unverified creek, stock tank, or map pin for drinking water. Natural water may be unsuitable or unavailable, and it needs a proper treatment plan.
For a more detailed explanation, see how much water you need for car camping. You can also use the Academy’s Water Supply & Resupply Calculator to think through your own trip duration and refill schedule.

4. Build a food system that works when conditions change
It is tempting to design camp meals around good weather, an open picnic table, and plenty of time. Off-grid camping does not always provide any of those things.
Plan meals for bad conditions, too. Fire restrictions, rain, wind, or exhaustion can make a full camp kitchen impractical. Keep an option that requires no cooking, and choose your cold food storage around how long you can actually keep food at a safe temperature. If you use a refrigerator, its power use belongs in your electrical calculations.
Cooking equipment also needs to fit your storage, cleaning, and fuel routines. A stove may be allowed under some fire orders but prohibited under others, so confirm the rules for the specific place you plan to camp. I discuss the day-to-day tradeoffs in the real challenges of food while car camping.
5. Account for the things a campground normally handles
Water and electricity get most of the attention. But developed campgrounds also provide toilets, trash disposal, showers, laundry, and drainage. When you camp away from services, those jobs are yours.
You need a workable bathroom plan, containers for trash and dirty items, and a way to handle washing and wastewater according to local rules. You also need to know when and where you can legally empty or dispose of them. Do not assume gray water can be dumped on the ground simply because the campsite is remote.
None of this has to be elaborate. It does have to fit your vehicle and your daily routine. The system that works is the one you can manage repeatedly without turning camp into a constant unpacking and cleanup project. My articles on car camping bathroom options and reducing constant unpacking go further into those practical decisions.
6. Plan navigation and communication as separate needs
Off-grid does not always mean disconnected. I use Starlink to work and communicate from some remote campsites, but it still needs power and a suitable sky view. Cellular service may be available in some locations and absent in others. Neither should be treated as a universal answer for every campsite.

Before traveling, save maps and information you will need if the internet stops working. Know which roads are legal for your vehicle, which ones are seasonally restricted, and where you can turn around. A paper road atlas or other independent navigation backup can be useful, particularly when you are changing routes across unfamiliar regions.
For emergencies, do not confuse ordinary internet access with a dedicated emergency communication plan. If you travel beyond reliable service, consider an appropriate emergency communication option. Share your route and check-in plan with someone you trust.
You can read about how I use Starlink while car camping and why the campsite itself matters as much as the equipment.
7. Make sure the vehicle and campsite fit the plan
A perfectly organized interior will not overcome a road that your vehicle cannot safely travel. Consider tire condition, vehicle maintenance, fuel range, payload, ground clearance where relevant, and the road surface you expect to encounter. A larger rig also has to account for dimensions, weight, and room to turn around.
A campsite might suit a 4Runner but be impractical for a long RV. The reverse can happen when a smaller vehicle lacks services needed for an extended stay. Road condition, weather, access rules, and your ability to leave matter more than a campsite’s popularity online.
On arrival, assess the ground, exposure, overhead hazards, drainage, other activity, and the departure route before fully setting up. My guide on how to evaluate a campsite for your needs covers that process in greater detail.
8. Do a real world test before adding more equipment
One of the least expensive ways to improve your setup is to test it. Choose a short trip near services, where a mistaken assumption won’t become a major problem.
Spend one or two nights without relying on hookups, then make notes. Which device used more power than expected? What was awkward to reach? How much water did you use? Did your kitchen function in wind? Could you pack and leave quickly? What did you carry but never touch?
Those answers provide a far better shopping list than someone else’s build. They also tell you which problems can be solved by reorganizing, reducing consumption, or changing your routine instead of buying more gear. For beginners, my first car camping trial-run guide can help you plan that test.
Where to spend money and where to spend time first
Equipment has a place. Reliable water containers, suitable power storage, appropriate tires, or a practical food-storage solution may be worth the investment for your particular setup. But adding capacity everywhere at once can make a vehicle heavier, more expensive, and harder to operate without extending your practical time off-grid.
I would rather know exactly what limits my stay and address that first. When you understand the system, you can decide whether an upgrade is genuinely necessary. And when something changes (weather, route, available services, travel pace) you have a better chance of adapting without starting over.
Go deeper inside the 4Runner Nomad Facebook Academy
This article gives you the framework. Applying it to your own vehicle takes a closer look at the numbers, tradeoffs, and decisions behind a workable road-life setup.
Inside the 4Runner Nomad Facebook Academy, I share field notes and practical planning resources. Members also get worksheets, downloadable guides, and interactive tools to help them make informed decisions. Resources include the Power Runtime & Solar Recovery Calculator and the Water Supply & Resupply Calculator, along with other road life planning tools and lessons.
The Facebook Academy is a $4.99/month subscription. It’s for people who want more than a generic equipment checklist. They want to learn how to evaluate their own setup instead of copying mine.
Fueled by coffee, road miles, and Roy’s questionable assistance. Enjoyed the read? Help keep it rolling. Buy Me a Coffee →